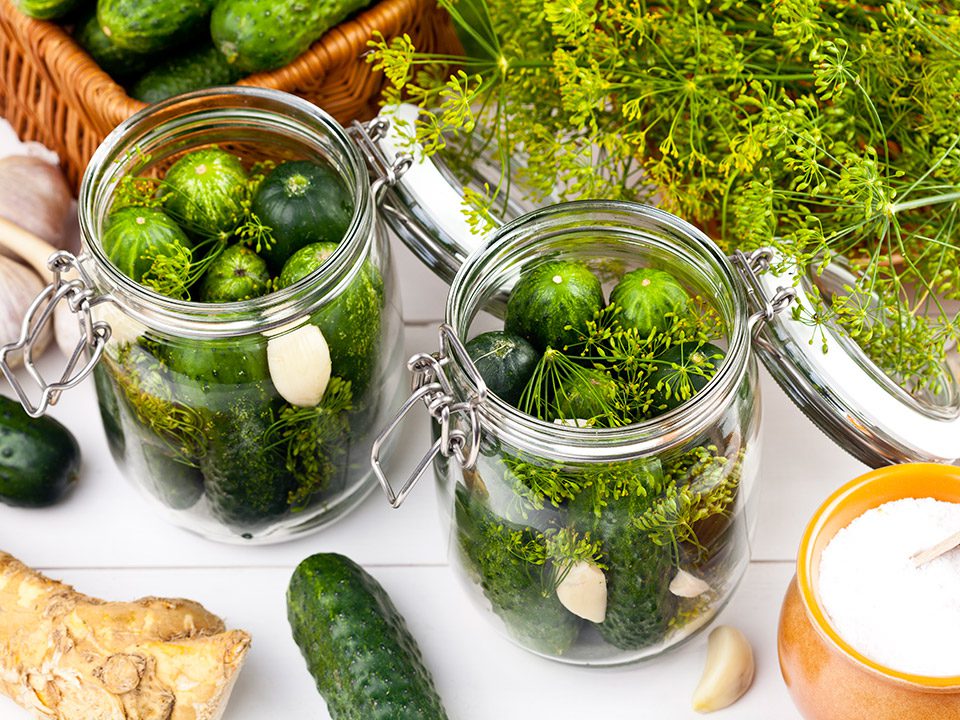
From Cucumber to Crunch: A Comprehensive Guide to Crafting Your Own Homemade Pickles
Pickles are a popular condiment that can add a tangy and crunchy kick to any meal. While store-bought pickles are convenient, making your own homemade pickles can be a fun and rewarding experience. Not only do you have control over the ingredients and flavors, but you can also customize them to your liking. In this blog post, we will guide you through the process of making your own homemade pickles.
What You Will Need
Before we dive into the steps, let’s first gather all the necessary ingredients and equipment:
- 1 pound of pickling cucumbers
- 1 cup of white vinegar
- 1 cup of water
- 2 tablespoons of pickling salt
- 2 cloves of garlic, peeled and smashed
- 1 tablespoon of pickling spice
- 1 teaspoon of dill seeds
- 1 teaspoon of mustard seeds
- A large pot
- Airtight jars
Step 1: Prepare the Cucumbers
The first step in making pickles is to select the right cucumbers. Pickling cucumbers are the best choice, as they have a firm texture and are less seedy. Wash the cucumbers thoroughly and trim off the ends. You can either leave them whole or cut them into spears or slices, depending on your preference.
Step 2: Create the Brine
The brine is what gives pickles their signature tangy flavor. In a large pot, combine the vinegar, water, pickling salt, and pickling spice. Bring the mixture to a boil, stirring until the salt is completely dissolved.
Step 3: Pack the Jars
Place the garlic, dill seeds, and mustard seeds at the bottom of each jar. Then, tightly pack the cucumbers into the jars, leaving about ½ inch of headspace at the top. You can also add other flavorings like red pepper flakes, fresh herbs, or sliced onions at this stage.
Step 4: Pour the Brine
Once the jars are packed, pour the hot brine over the cucumbers, leaving about ¼ inch of headspace. Use a wooden spoon to remove any air bubbles and ensure that the cucumbers are completely covered in the brine.
Step 5: Seal the Jars
Wipe the rims of the jars with a clean cloth and place the lids on top. Make sure they are tightly sealed. You can use a water bath canner to process the jars for long-term storage, or simply store them in the refrigerator for immediate consumption.
Step 6: Let Them Pickle
Place the jars in a cool, dark place, and let them pickle for at least 24 hours before opening. The longer they sit, the more flavorful they will become. Homemade pickles can last for several months if properly stored in the refrigerator.
Tips for Customizing Your Pickles
Now that you know the basic steps for making homemade pickles, here are some tips for customizing them to your liking:
- Experiment with different types of vinegar, such as apple cider vinegar or rice vinegar, for a unique flavor.
- Add in your favorite herbs and spices, like bay leaves, thyme, or peppercorns, to create your own blend of pickling spice.
- For a sweeter pickle, add a bit of sugar to the brine.
- Try using different types of cucumbers, such as English or Persian cucumbers, for a different texture and taste.
- Don’t be afraid to get creative and add in other vegetables like carrots, radishes, or green beans to your pickling jars.
In Conclusion
Making your own homemade pickles is a simple and fun process that allows you to customize the flavors to your liking. With just a few ingredients and some patience, you can create a delicious batch of pickles that will elevate any meal. So why not give it a try and see for yourself the satisfaction of making your own homemade pickles?


