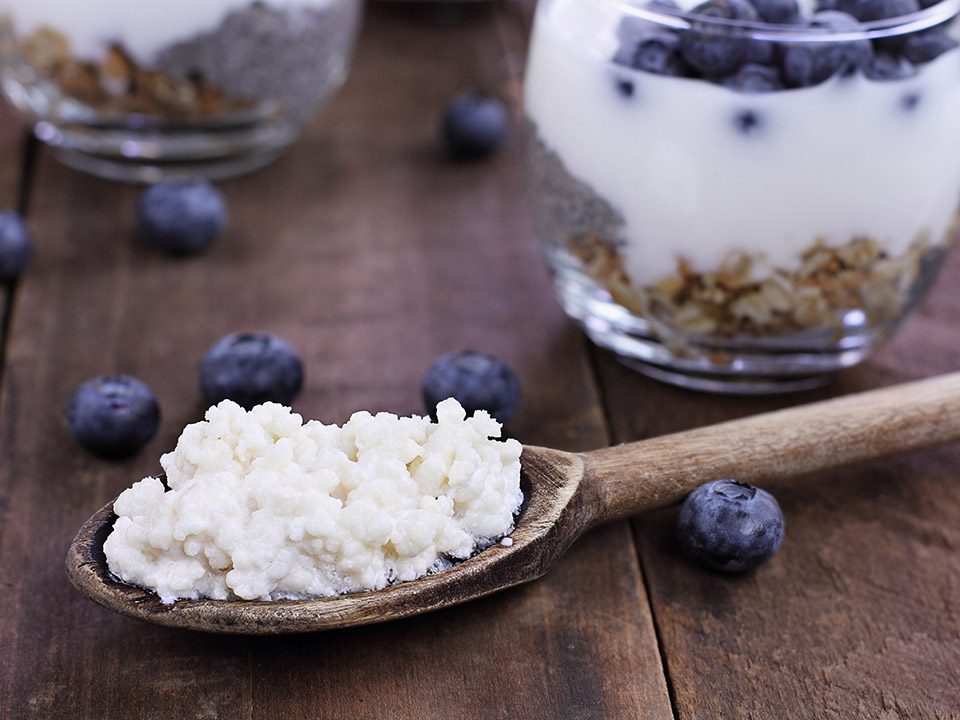
Kefir is a fermented drink that has been gaining popularity in recent years due to its numerous health benefits. It is made by fermenting milk with kefir grains, which are a combination of bacteria and yeast. Kefir is rich in probiotics, vitamins, and minerals, making it a great addition to any diet. While it is readily available in stores, making your own homemade kefir is not only cost-effective but also allows you to control the ingredients and customize the flavor to your liking. In this blog post, we will guide you through the process of making your own homemade kefir.
What You Will Need
To make homemade kefir, you will need a few basic ingredients and equipment. The most important ingredient is kefir grains, which can be purchased online or obtained from a friend who already makes kefir. You will also need milk, preferably whole milk, as it produces a thicker and creamier kefir. Other equipment includes a glass jar, a plastic or wooden spoon, a cheesecloth or coffee filter, and a rubber band.
Preparing the Kefir Grains
Before you start making kefir, you need to prepare the kefir grains. If you have purchased dried kefir grains, you will need to rehydrate them by soaking them in milk for 24 hours. If you have obtained live kefir grains, you can skip this step. Once the grains are rehydrated, you can start making kefir.
Making the Kefir
To make kefir, start by pouring the milk into a clean glass jar. The amount of milk you use will depend on the size of your jar and how much kefir you want to make. For every cup of milk, add one tablespoon of kefir grains. Stir the milk and grains gently with a plastic or wooden spoon. Cover the jar with a cheesecloth or coffee filter and secure it with a rubber band. This allows air to flow in and out of the jar while keeping out any contaminants.
Fermenting the Kefir
Place the jar in a warm spot, away from direct sunlight. The ideal temperature for fermenting kefir is between 68 and 85°F. Let the kefir ferment for 12–24 hours, depending on the temperature and your preference for the level of fermentation. The longer you let it ferment, the tangier and thicker the kefir will become. You can taste the kefir after 12 hours and decide if you want to let it ferment longer.
Straining and Storing the Kefir
Once the kefir is fermented to your liking, it is time to strain it. Place a clean bowl under the strainer and pour the kefir through it. The kefir grains will be left in the strainer, and you can use them to make another batch of kefir. Rinse the grains with filtered water and store them in a jar with a little milk in the refrigerator until you are ready to use them again. Transfer the strained kefir into a clean jar and store it in the refrigerator. It will last for up to two weeks.
Flavoring Your Kefir
Homemade kefir has a tangy and slightly sour taste, but you can add flavorings to make it more enjoyable. You can add fruits, such as berries or mango, to the kefir and blend it for a fruity flavor. You can also add honey, maple syrup, or stevia for a sweeter taste. Experiment with different flavor combinations to find your favorite.
Tips for Making Perfect Kefir
- Use clean equipment and jars to avoid contamination.
- Do not use metal utensils or containers, as they can react with the kefir.
- Use whole milk for a thicker and creamier kefir.
- Do not use ultra-pasteurized milk, as it may not ferment properly.
- If you are not making kefir regularly, you can store the grains in the freezer. Just thaw them before using them again.
- If you are going on vacation, you can store the grains in the refrigerator with a little milk for up to two weeks.
Summary
Making your own homemade kefir is a simple and rewarding process. With just a few basic ingredients and equipment, you can have a constant supply of this nutritious and delicious drink. By following the steps outlined in this blog post, you can make your own kefir and customize it to your liking. So why not give it a try and start reaping the health benefits of homemade kefir today?


